In the year 2020, during the lockdown, I had a blast on my Instagram explaining the process of making your own sourdough starter. It was so exciting to go through the process with other people and troubleshoot issues and watch the starters become active. I have explained in one of my posts that I have a starter that is over a year old (now three years old), but for the purpose of this tutorial, I created a new sourdough starter from scratch and went through the process with everyone that wanted to partake.
This month (July 2022) I went through the entire process of creating a sourdough starter from scratch again. I made a write-up here on my blog on how to create your own sourdough starter from scratch.
On day seven of creating your own sourdough, you should be ready to bake or attempt to bake your first sourdough bread.
If you already have your own starter, please let me know how this recipe worked for you.
Disclaimer: Artisan bread chefs might cringe if they read this recipe. There are no window-pane tests and proofing in linen cloths and baskets involved in this recipe. My idea is to share a recipe that will be possible without a state-of-the art-kitchen and great knowledge of baking bread. There are wonderful recipes and tutorials available online to create all kinds of bread and the more you work with it the better you will understand it and the better your bread-baking will be.
So let’s get going.
First of all, you must understand that baking with sourdough is not difficult at all, but it is also not quick. You cannot plan a bread an hour in advance. It doesn’t physically take that much time, but it takes time for the natural yeast to do its job. It is helpful to plan your bread one day ahead so that you can start on time and your sourdough starter is ready to be used.
I have tested the recipe below on both my old starter and the 7 day-starter which I just created. Remember that starters are growing on natural yeast and are variable as a result of factors like temperature and naturally occurring lactobacilli and yeast populations in your home. I might have very healthy populations as a result of baking with sourdough for such a long time.
Don’t be discouraged if your first bread isn’t perfect, the more you work with the dough, the better you will understand it.
What you will need for this recipe is:
- 1 cup of sourdough starter (You can find the steps to creating your own here: (Sourdough starter from scratch)
- 3 1/2 cups of flour (bread flour is great, but I used cake flour as it is what I have)
- 1/4 cup of flour for step 3
- 1 cup of water
- 1 pinch of salt
Step 1
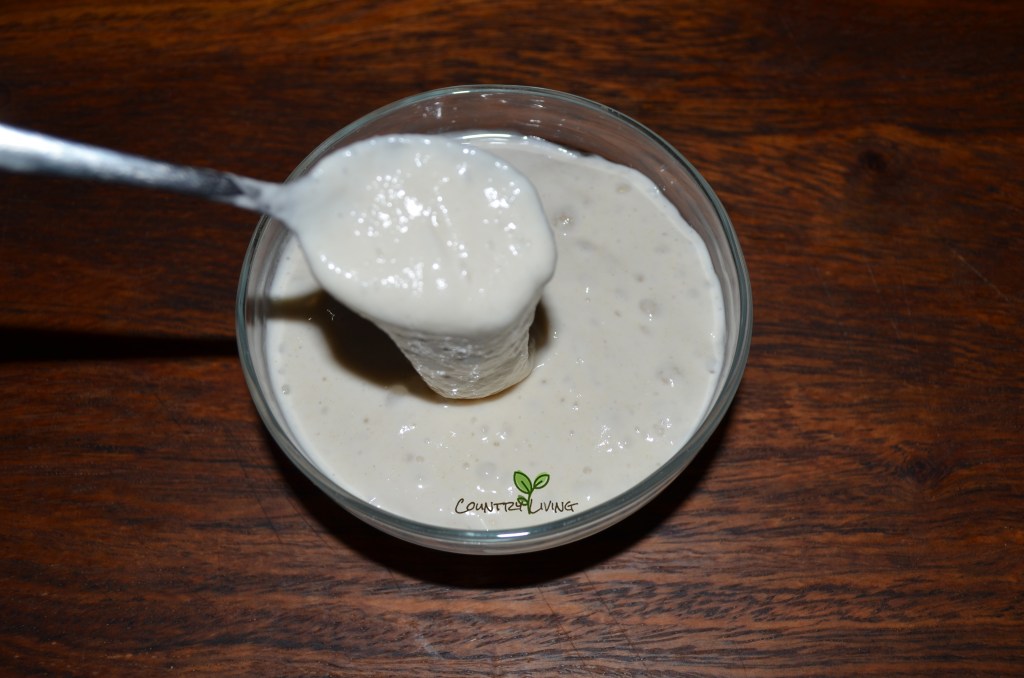
Before you start baking, make sure starter has been cared for. If you keep your starter in the fridge and make sure it is at room temperature and active and bubbly before attempting to bake. Feed it and bake within the next 3 hours. I fed mine and mixed the dough an hour later.
Step 2
Mix 1 cup of water with 1 cup of sourdough. If you have an electric stand bread dough mixer, add the 3 1/2 cups of flour, the pinch of salt and mix for around 4 minutes.
If you do not have an electric mixer, knead with your hands. A stainless steel surface and a dough scraper will be great for this, but I don’t have this, so I find mixing and kneading inside a stainless steel bowl helps a lot.
Once you are done with this cover the dough in a bowl and leave it to rise for 4-6 hours. If your kitchen is very cold you can try putting it on a heat pack or warm water bottle. If you have an electric oven with a light inside, simply switching on the oven light might be enough heat to help the dough rise. Whichever way, it needs to rise and expand.
Step 3
Sprinkle the 1/4 cup of flour over the dough and take it out shaping it into a ball. Place the ball in a sprayed or buttered bread pan. Cover and leave the dough to rise in the bread pan for 2-3 hours. (You can try to proof in baskets with dusted linen if you like and carefully flip it over onto a flat baking sheet or stone. There are loads of tutorials available on the internet. I like the fact that I can just let it proof in a pan and pop it straight into the oven. )
You can now try your hand at scoring, and cut a superficial cross or some lines into the top of the dough with a sharp knife or blade. This is called scoring and it helps the bread to expand creating weak points… (Yeah I know. Here is a video to help you understand Scoring your bread)
I have a gas oven which I preheated to 220 degrees Celsius.
Step 4
Baking the bread. Prepare a shallow oven pan or dish with water and place this into the bottom of your oven at the same time you put your bread in. The steam in the oven helps your bread rise and creates a crispy crust. Bake your bread for 55 minutes.
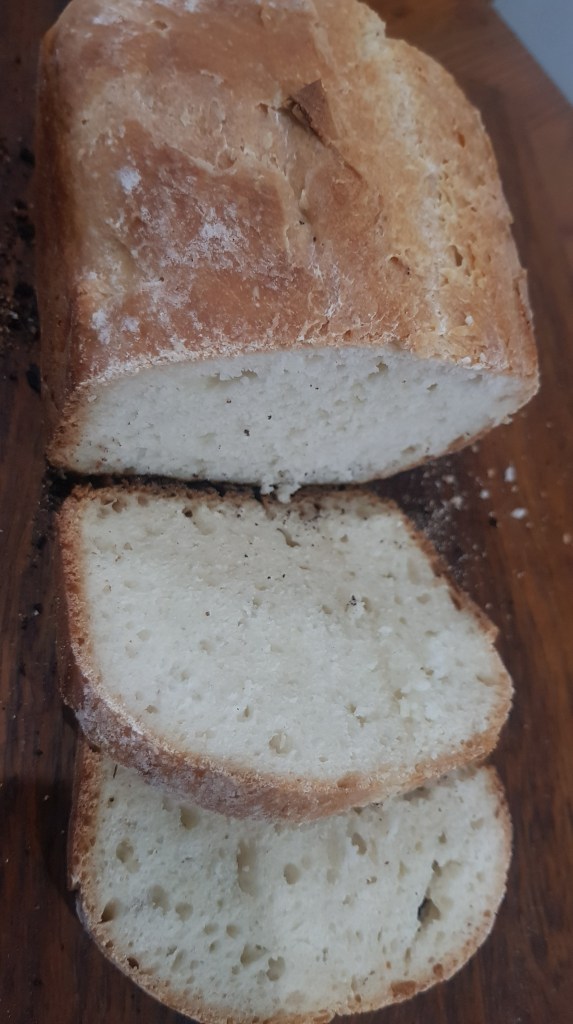
Take out, remove from the pan, cool on a wire rack, admire and then slice and eat.
Please send me pictures of your first bread baked and enjoy every bite.
Happy baking.

Thank you. This is very useful, especially at a time like this.
LikeLiked by 1 person
Exactly what I thought and it beats a shop-bought bread anytime!
LikeLike
How interesting that you made bread with cake flour and it looks so good too. There has been a run on both yeast and flour here, and in some shops at least they are unavailable. I must wake up my sourdough starter that has been ‘resting’ in the fridge perhaps a tad too long. Thanks for the reminder!
And take care through these difficult times.
LikeLiked by 1 person
Haha. I find they wake easy and can actually be fine for a long time. Thank you! Also be safe.
LikeLiked by 1 person
hi Lisa it’s me again, when I want to bake a bread do you mean that I first have to feed my starter before using it in the recipe? Or do I took the 1 cup starter before feeding?
and if it is yhe first time and not in refrigerator do I also have to feed first and wait for bubbles or can I use the 10 day starter just like it is and feed afterwards??
jeanetta
LikeLike
Hi. I sometimes bake with the starter as is, not alive and bubbly. It works okay, but it is always better to have your starter alive and bubbly and then start baking. At the end of the day, you want a dough that rises and bubbles and the organisms are in your starter. They are just more when your starter is active and that means your dough will rise and ferment more and faster.
LikeLike